Add New Aok Features and Mapping Content
To add new Aok Features and Mapping, you need super admin rights. Please obtain the super admin credentials.
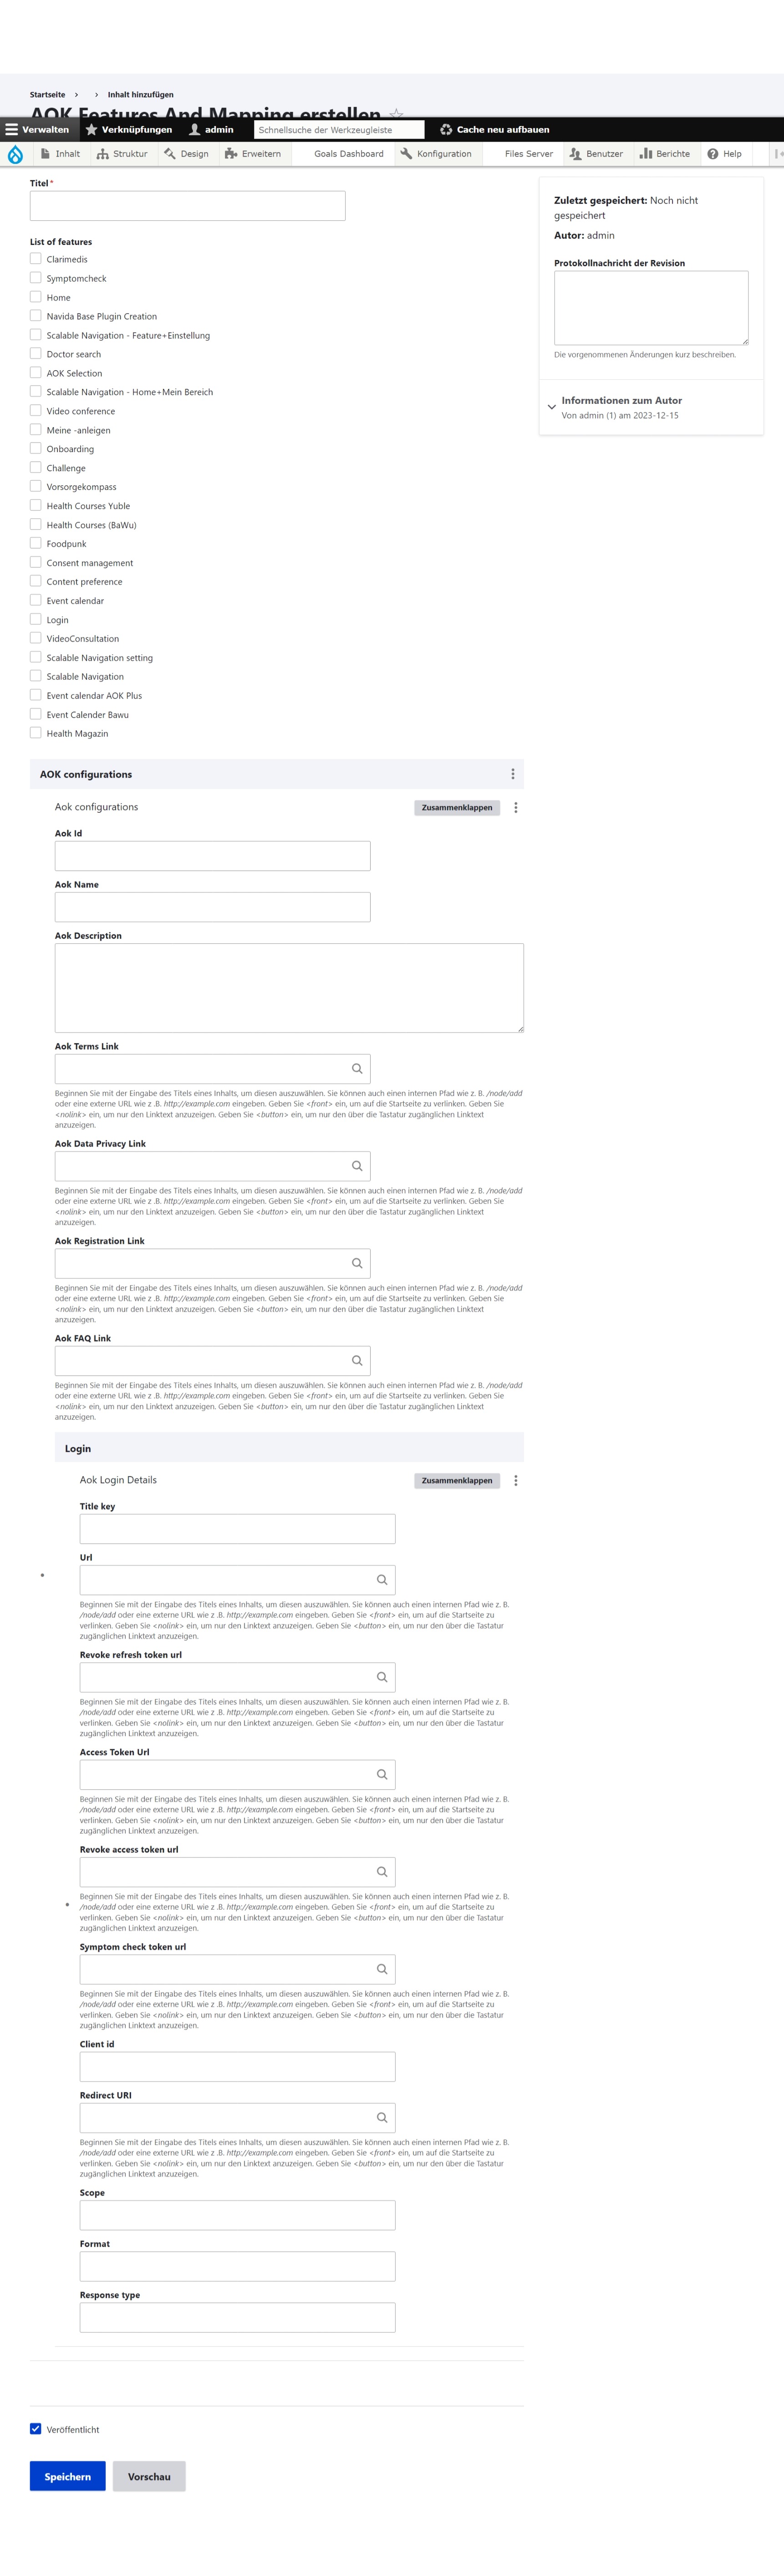
- Step-1: Log in to the site using your credentials. You will be directed to a page similar to the one shown in the image below:
Click on Inhalt(Content) -> Inhalt hinzufügen (Add Content) -> Aok Features and Mapping

- Now, add the 'Titel' (Title),select the List of features you want to map, add AOK configurations .
- In AOK configurations section click the checkbox if it a beta release.
- Enter the Aok Id, Aok Name , Aok Description .
- click the Push Notification Available checkbox if you want to make it available .
- click on the Additional Data protection screen checkbox if you want extra data protection screen.
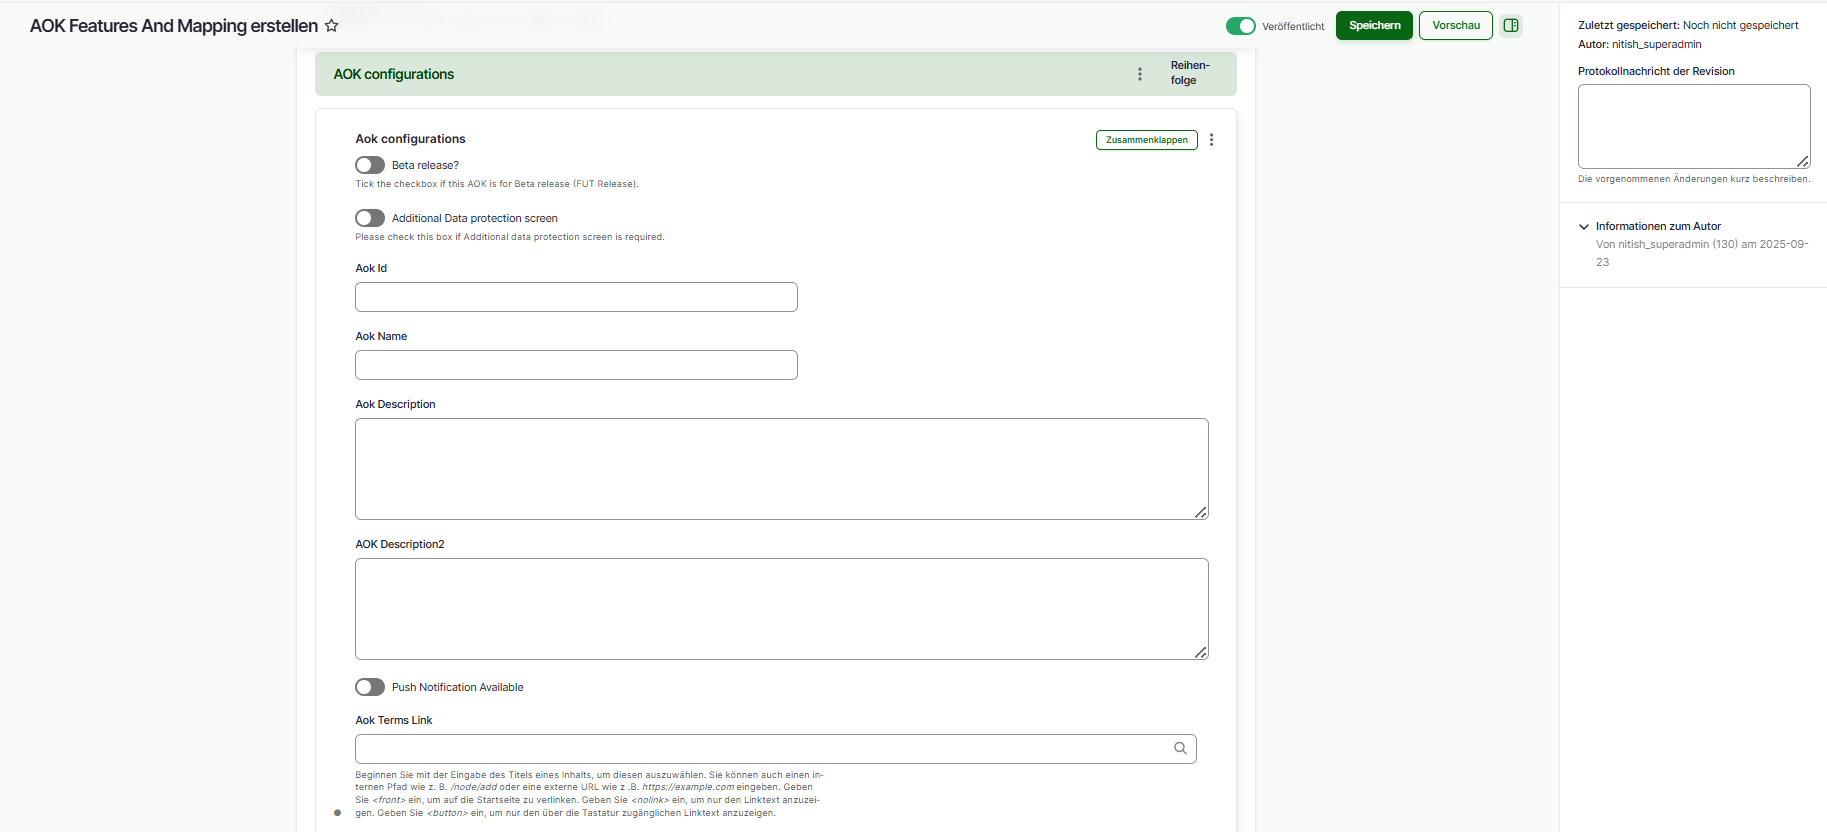
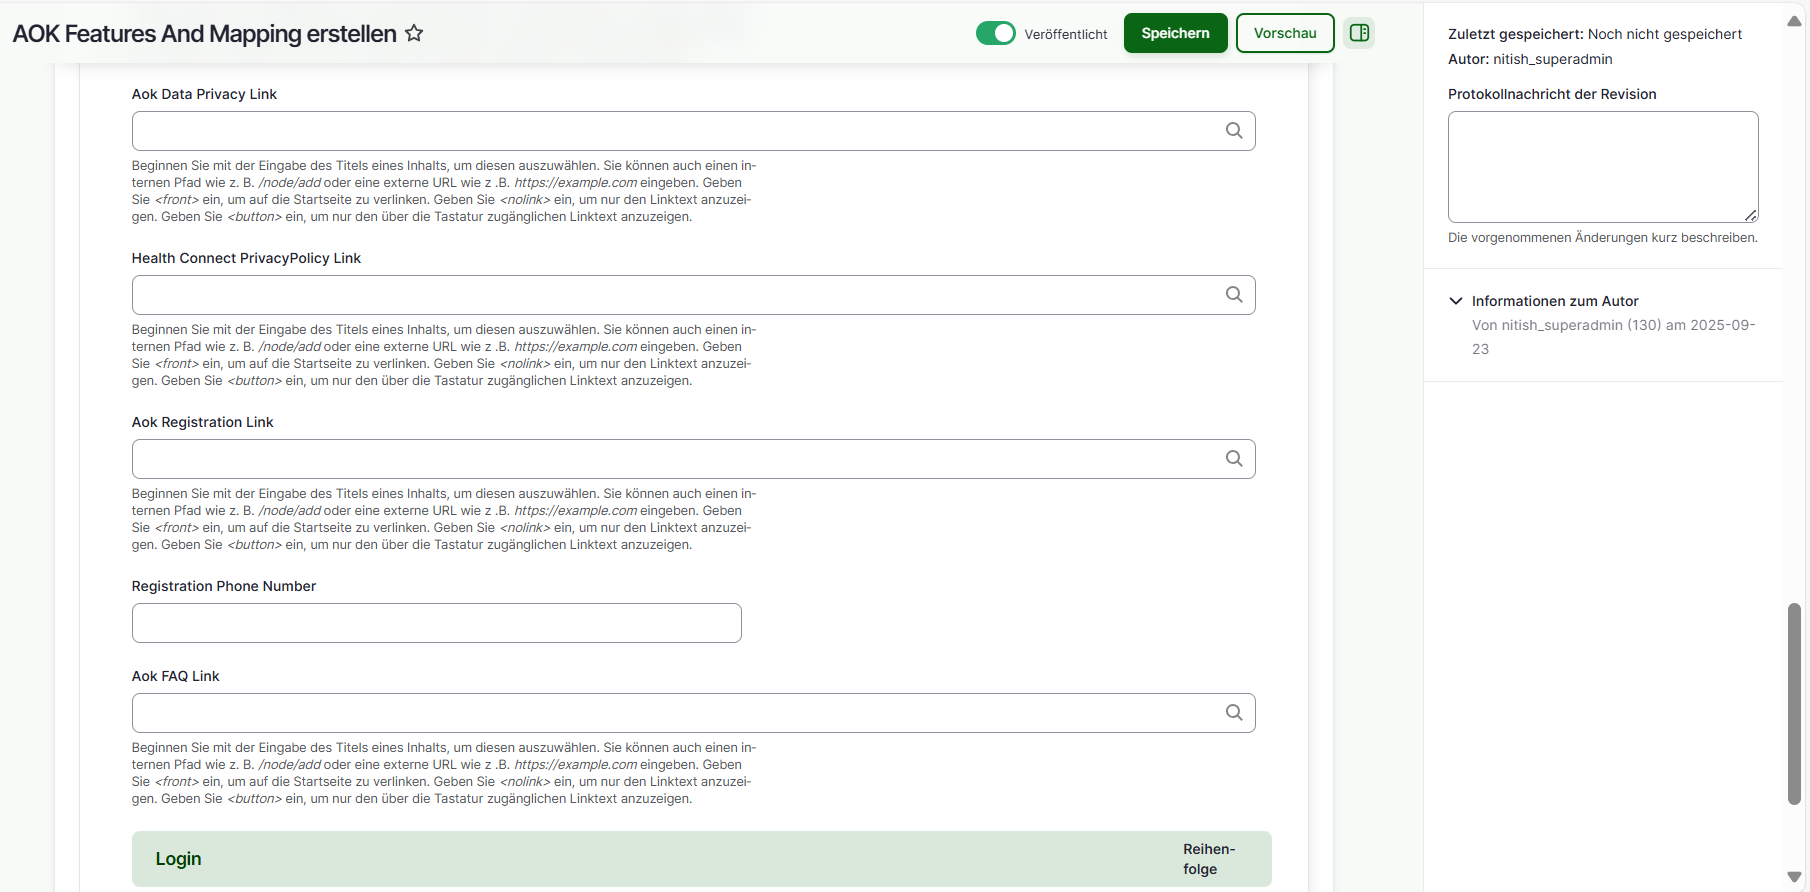
- Enter the Aok Term link,Aok Data Privacy Link,Aok Registration Link, Registration Phone Number
and Aok FAQ Link by typing the link name these fields are autocomplete field.
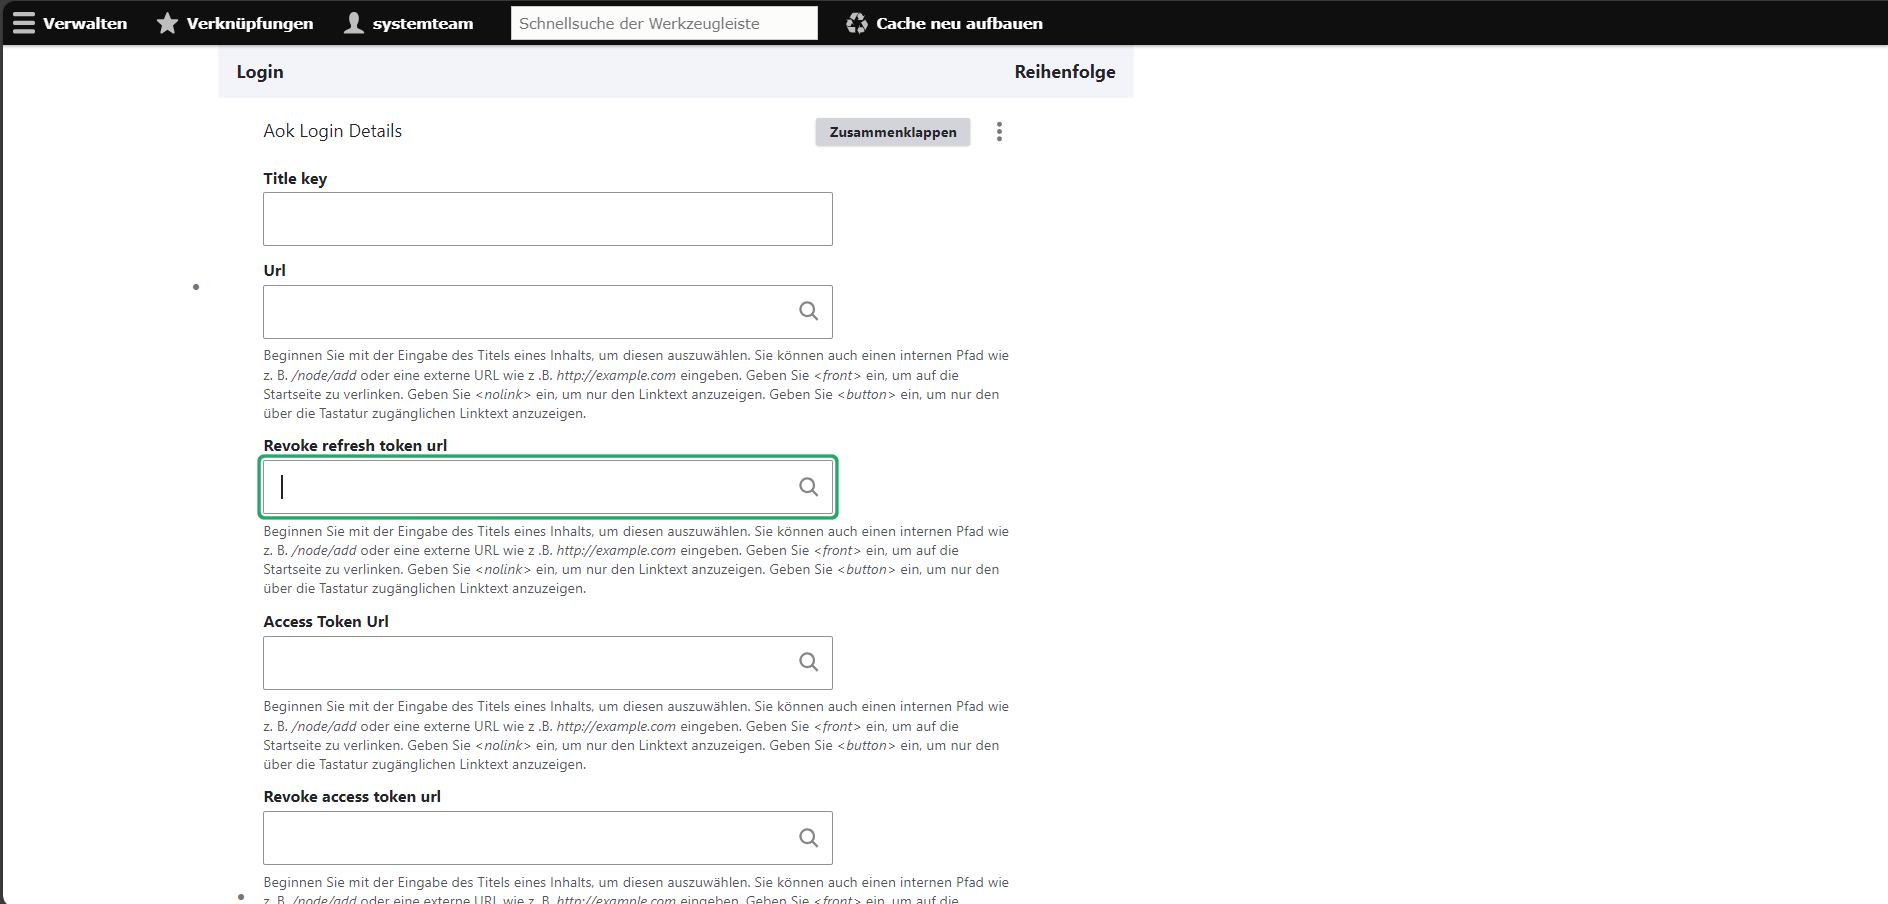
- In Login Section , Add Title key,Url,Revoke refresh token url,Access Token Url and Revoke access token url these fields are autocomplete field.
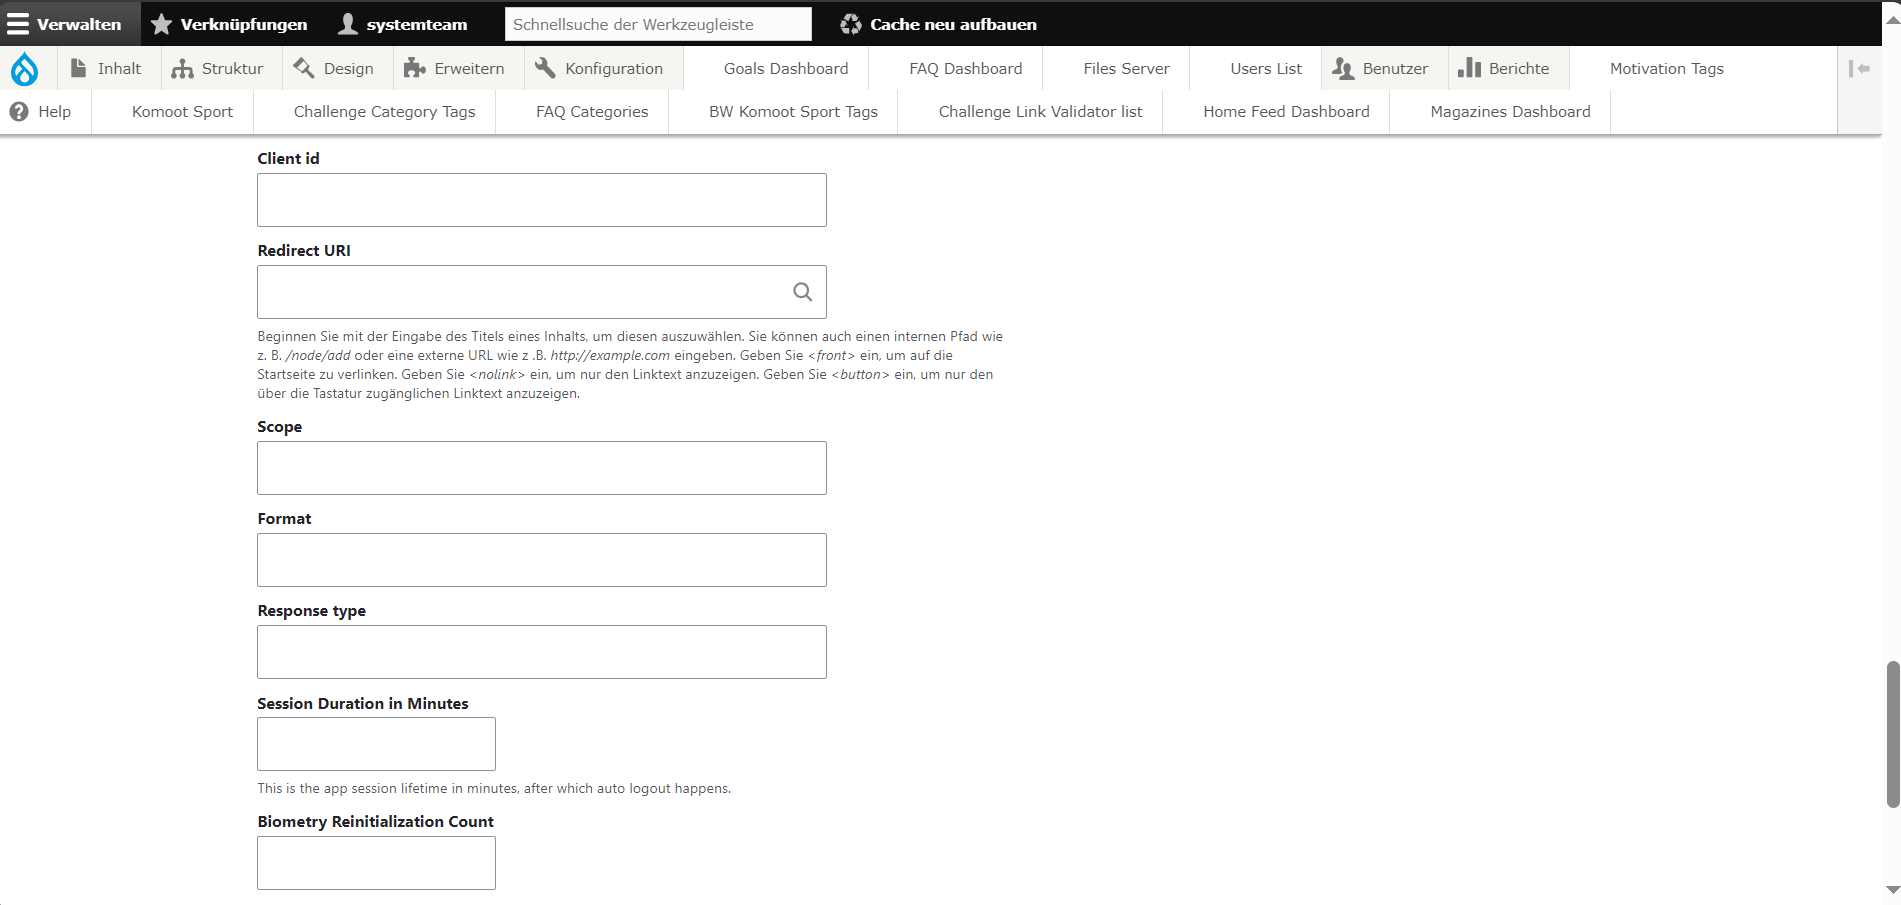
- Add Symptom check token url , Client id ,Redirect URI,Scope,Format and Response type .
- Add Session Duration in Minutes.This is the app session lifetime after which it will auto logout.
- Add Biometry Reinitialization Count. It is the biometry count value.
- On the right you will find Informationen zum Autor(Authored by) option,click on it and chnage the 'Geschrieben von'(author information)
 type the AokPlus user in the box and search.clck on the aokplus user
 - check the 'Veröffentlicht' (Published) checkbox if you wish to publish this Aok Features and Mapping. Finally, click the 'Speichren' (Save) button. Once the Aok Features and Mapping is saved, you will return to the Aok Features and Mapping page.
- Step-6: click on grant button
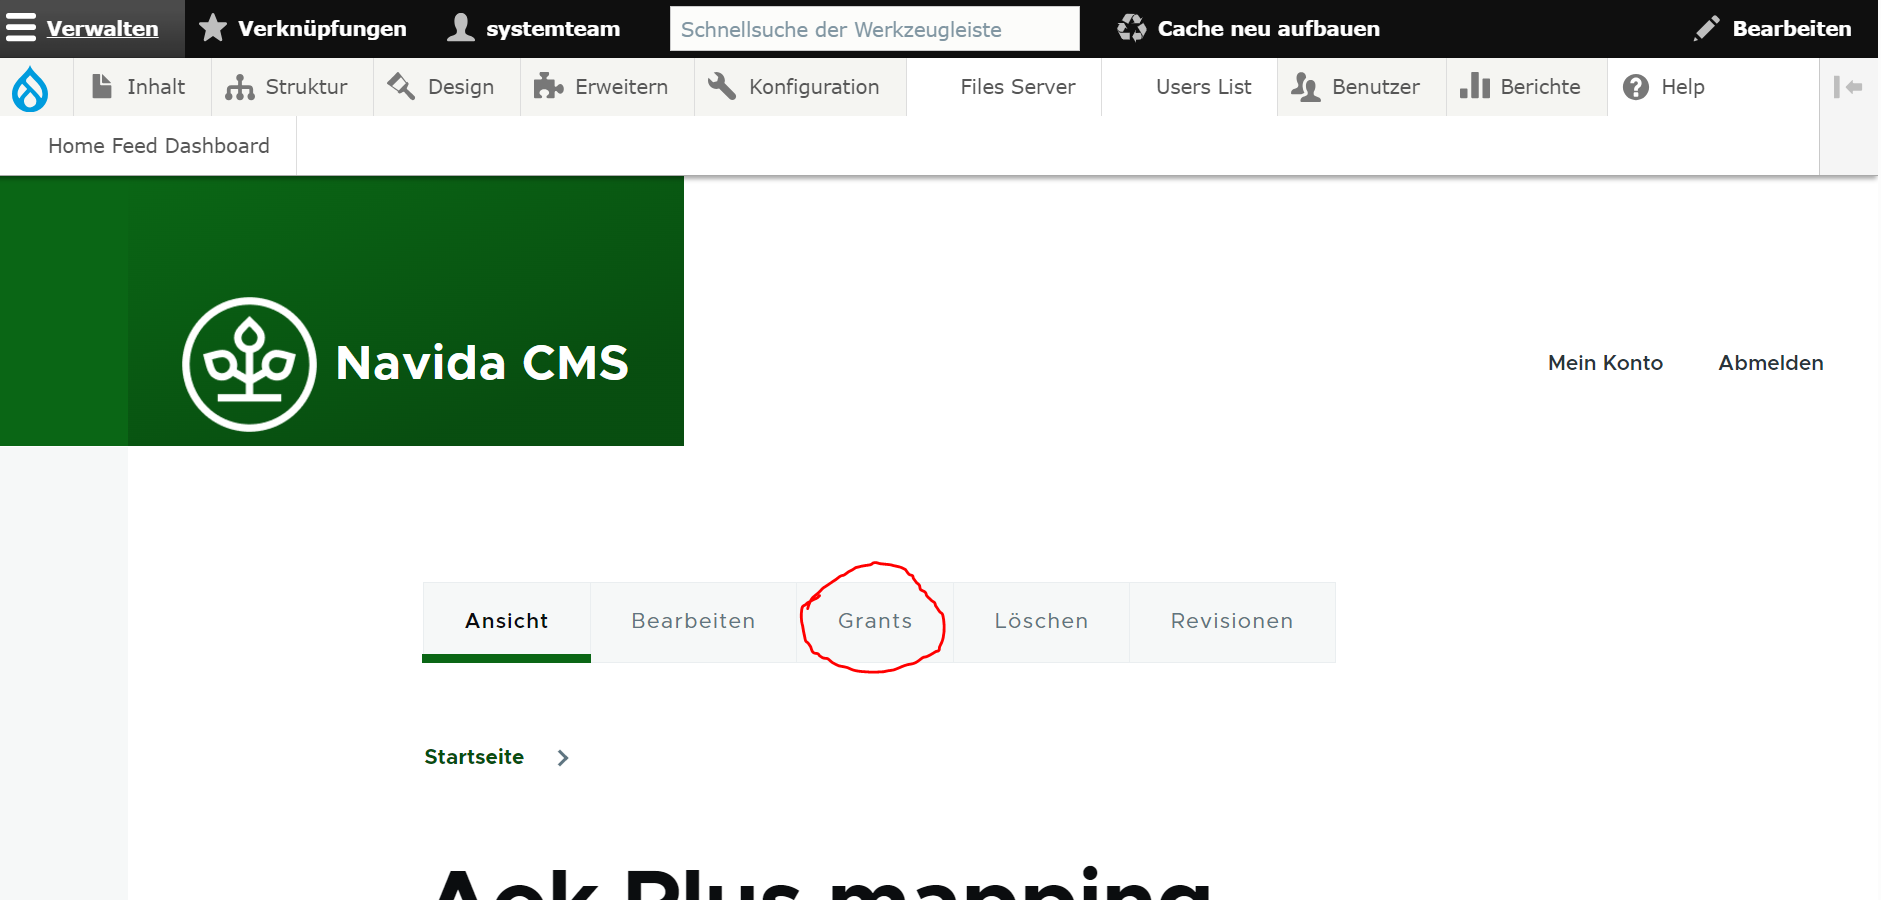 .You will be directed to a page similar to the one shown in the image below:
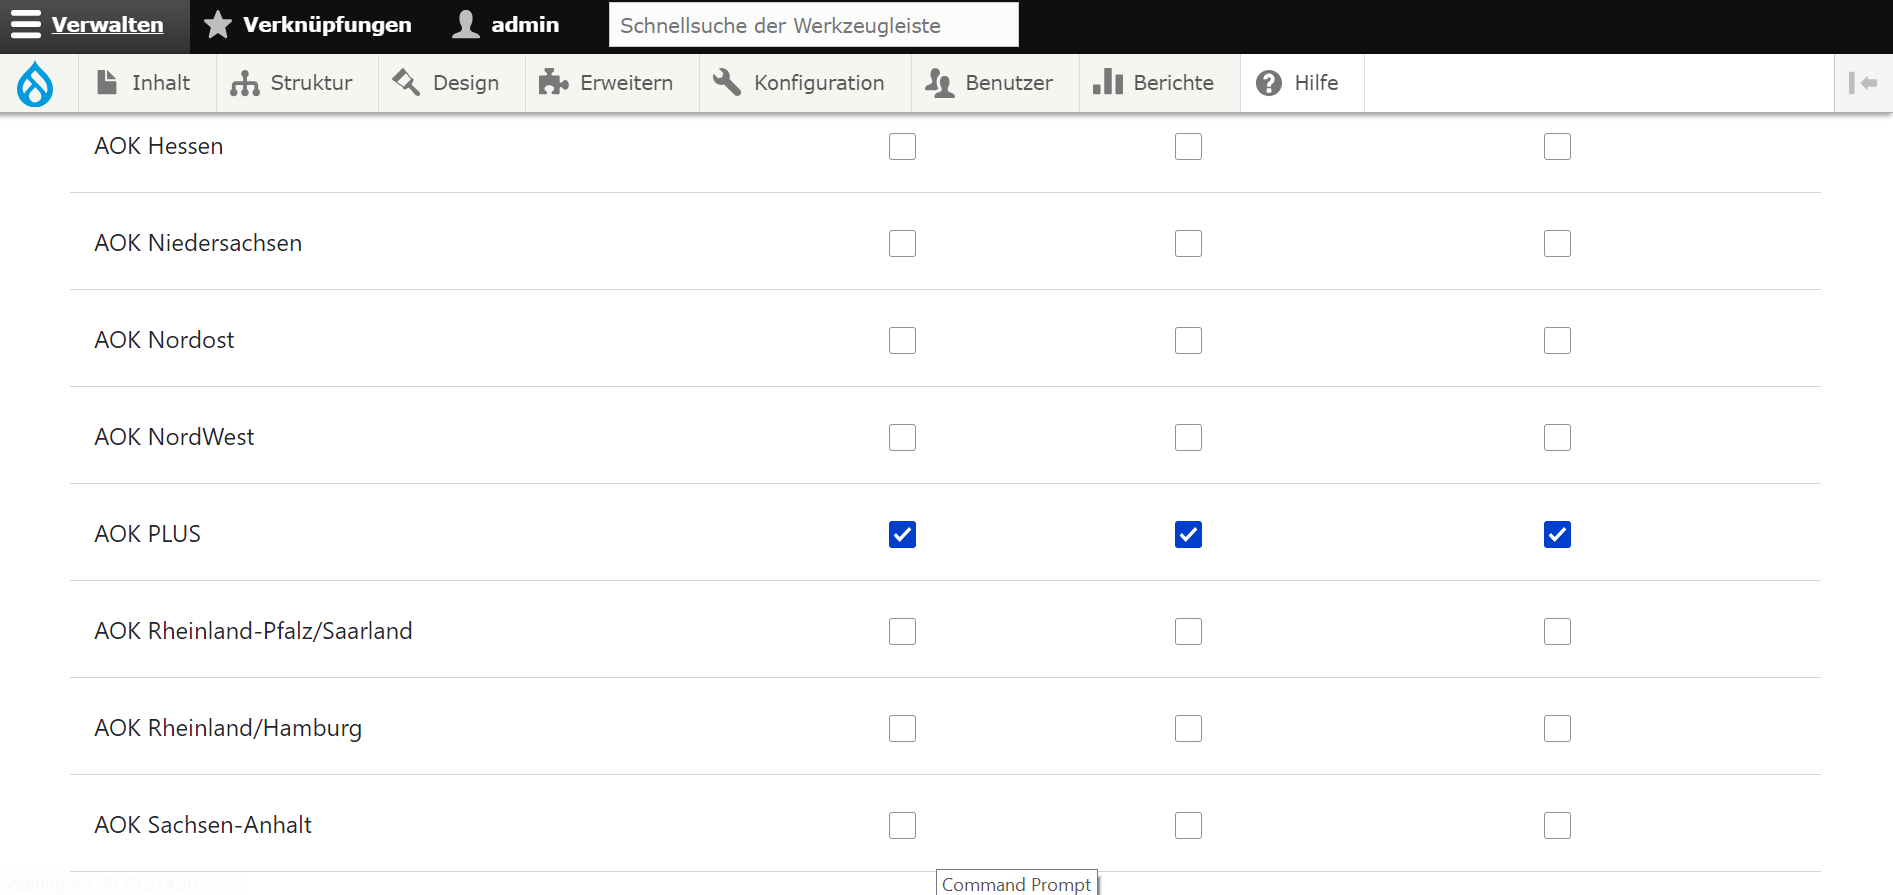 scroll to the AOk you want give the permission and select Ansicht(view),Bearbeiten(edit) or Löschen(delete) option you want give for the user and click on 'Berechtigungen speichern'(save grants).
Important Note : clear content service cache to reflect the configs . Ex DEV url for content service cache : dev-ey.navida-cloud.plus.aok.de/content/api/v1/evictAllCaches